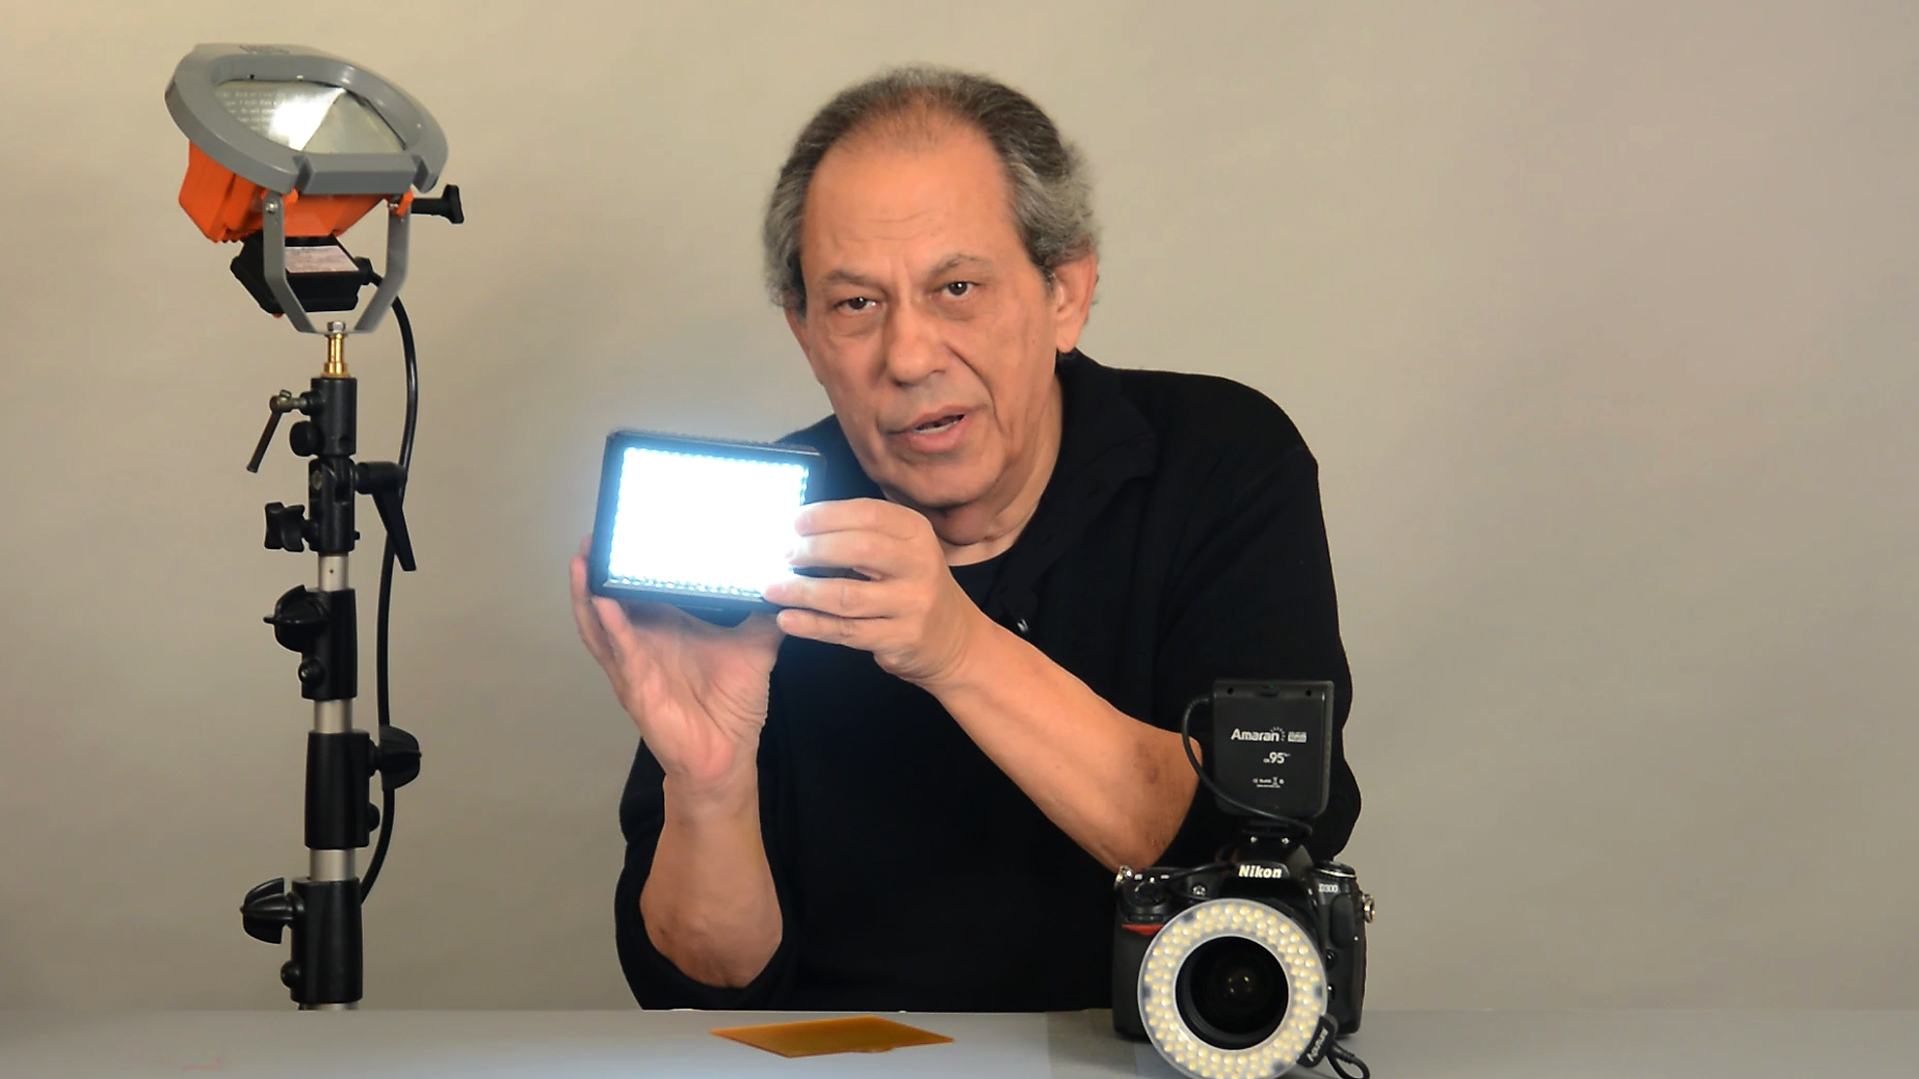
Cheap Lights
Some young photographers, many who are just starting out on their photographic journey, get so hung up on not having the equipment they feel they must have to create the photographs they want to make, become paralyzed. Paralyzed to the point of not making images but worrying about the equipment they think they need instead.
Do Over
Some young photographers, many who are just starting out on their photographic journey, get so hung up on not having the equipment they feel they must have to create the photographs they want to make, become paralyzed. Paralyzed to the point of not making images but worrying about the equipment they think they need instead.
The Fill Card Tutorial
This tutorial is about fill cards and why photographers use them. It starts off be explaining the differences between how the human eye works and sees thing versus how a len’s aperture works and how the camera sees things. It goes on to illustrate how the placement of a single fill card can alter the look of a resulting image when a fill card is used. Next, it describes a way to construct a simple fixture that will allow photographers to position a fill card exactly where they want it quickly and easily.
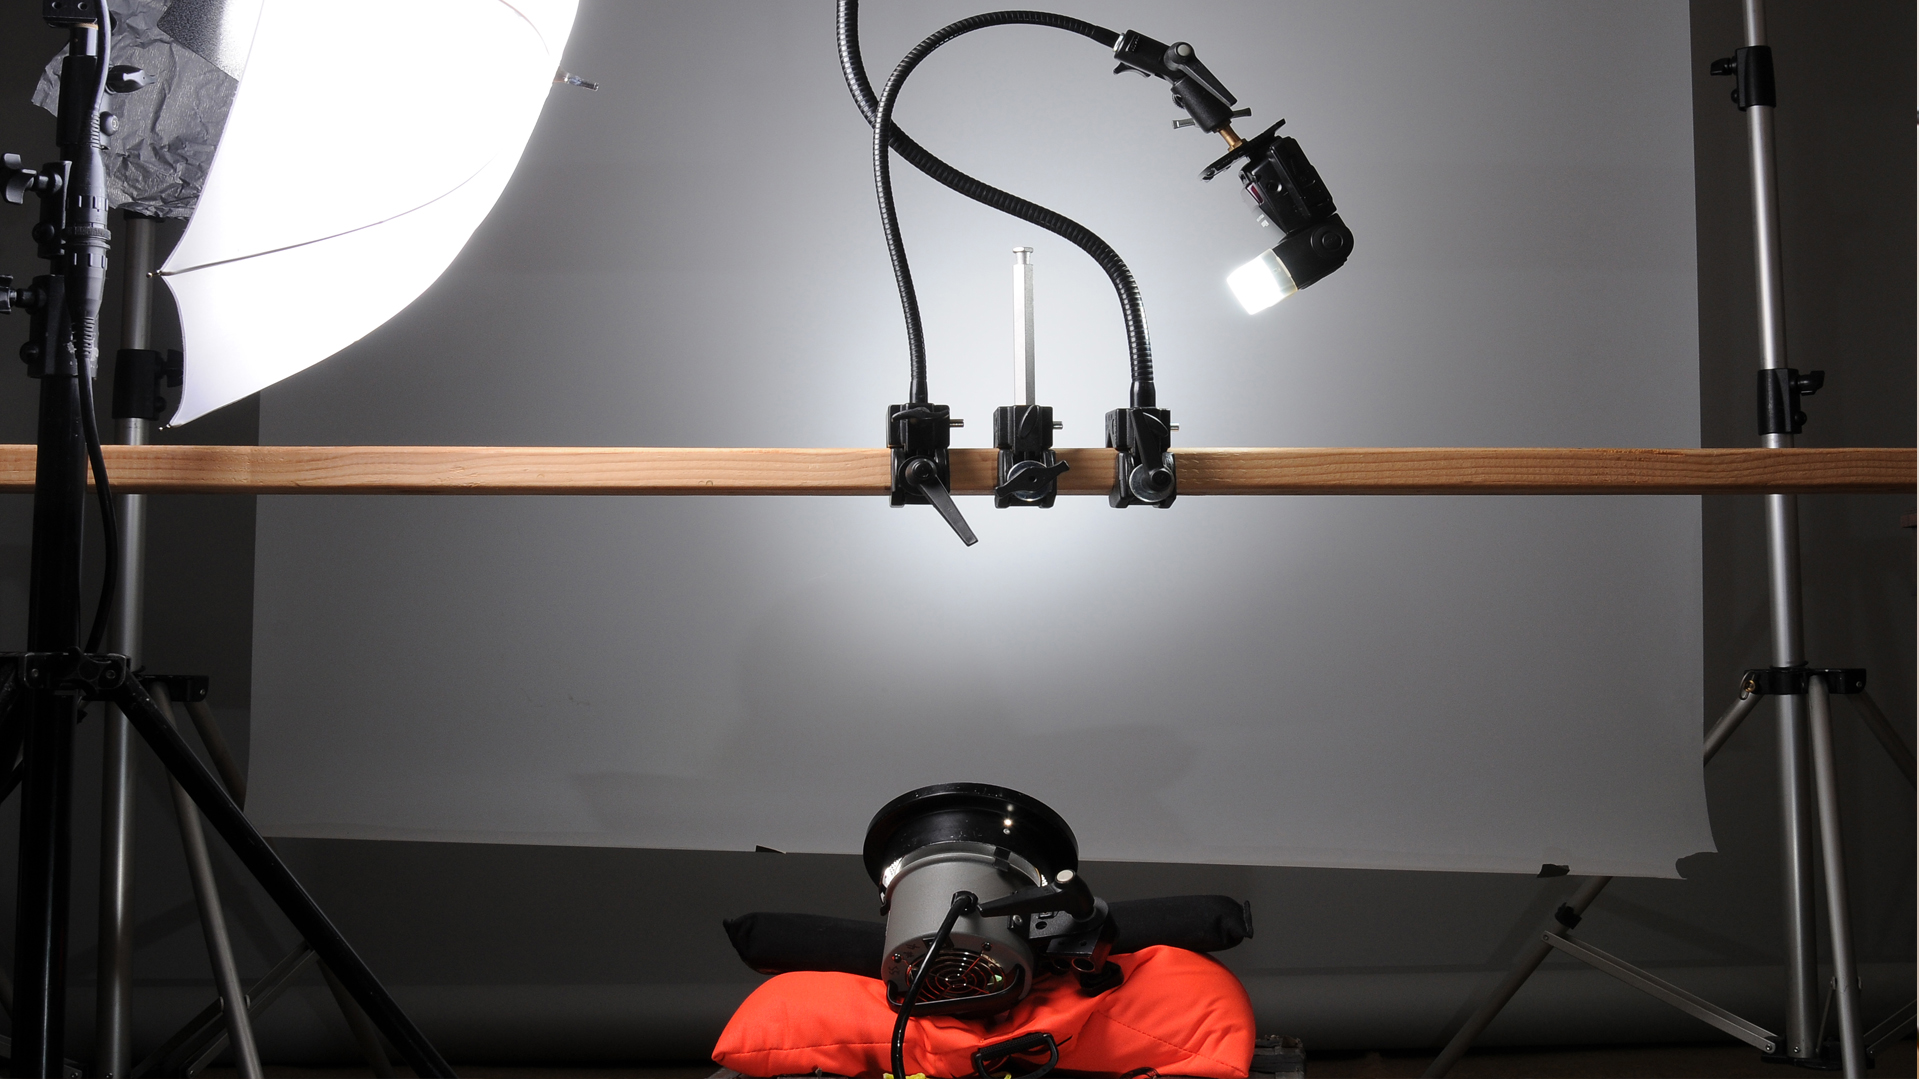
Light Modifiers
This tutorial is about the lights photographers use. It starts off by describing the two basic lights available to photographers: hard lights and soft lights. With that out of the way, the tutorial moves on to compare two different types of soft lights: umbrellas and soft boxes. The tutorial describes a way to improve the catch lights a soft box creates in reflective subjects.
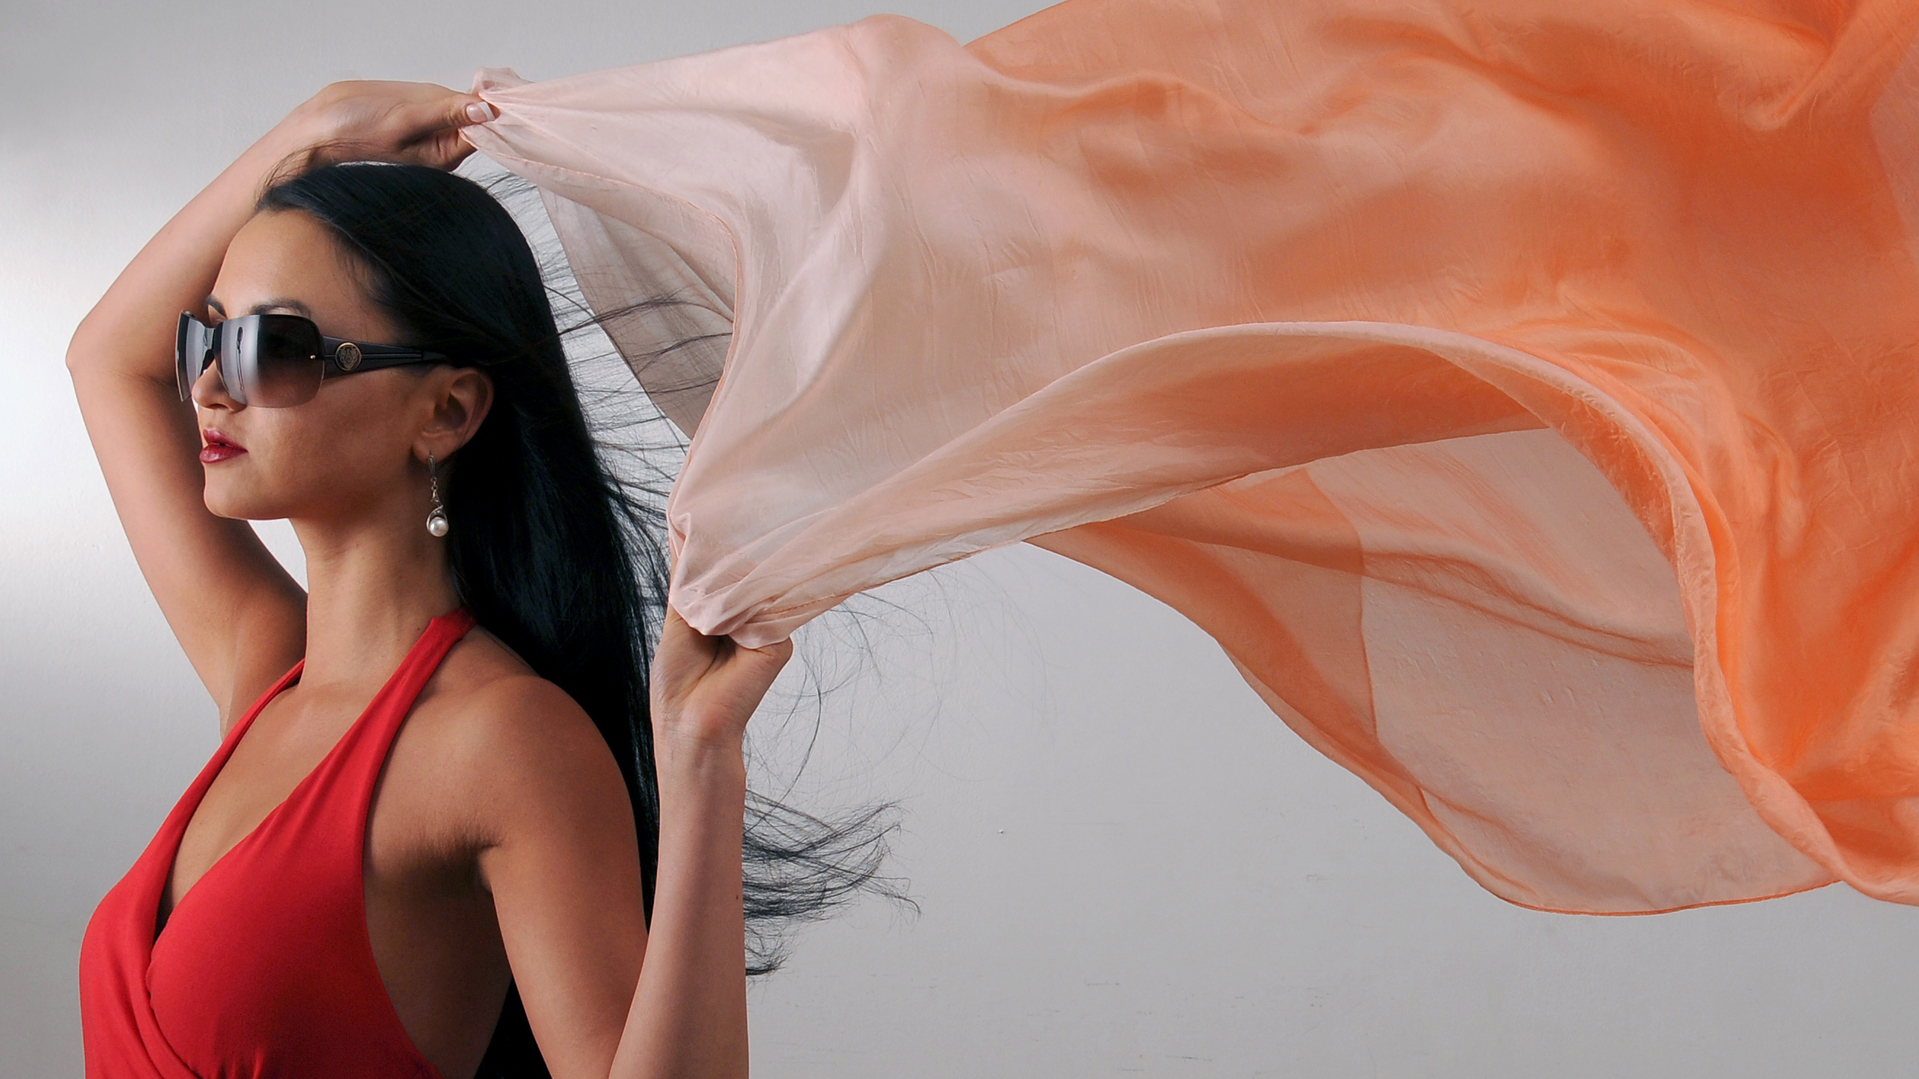
V-Flats, Wind Machines, and Full length Posing
This tutorial covers constructing a V-flat, using wind machines, and suggestions for full length lighting and posing. We are going to start off by building a 4X8 foot “V-flat”. If you accept the premise that a soft box can emulate window light; representing a window that you can position where you want it and has a repeatable color temperature, then you might be able to visualize that a “V flat” can emulate the light coming through a doorway.
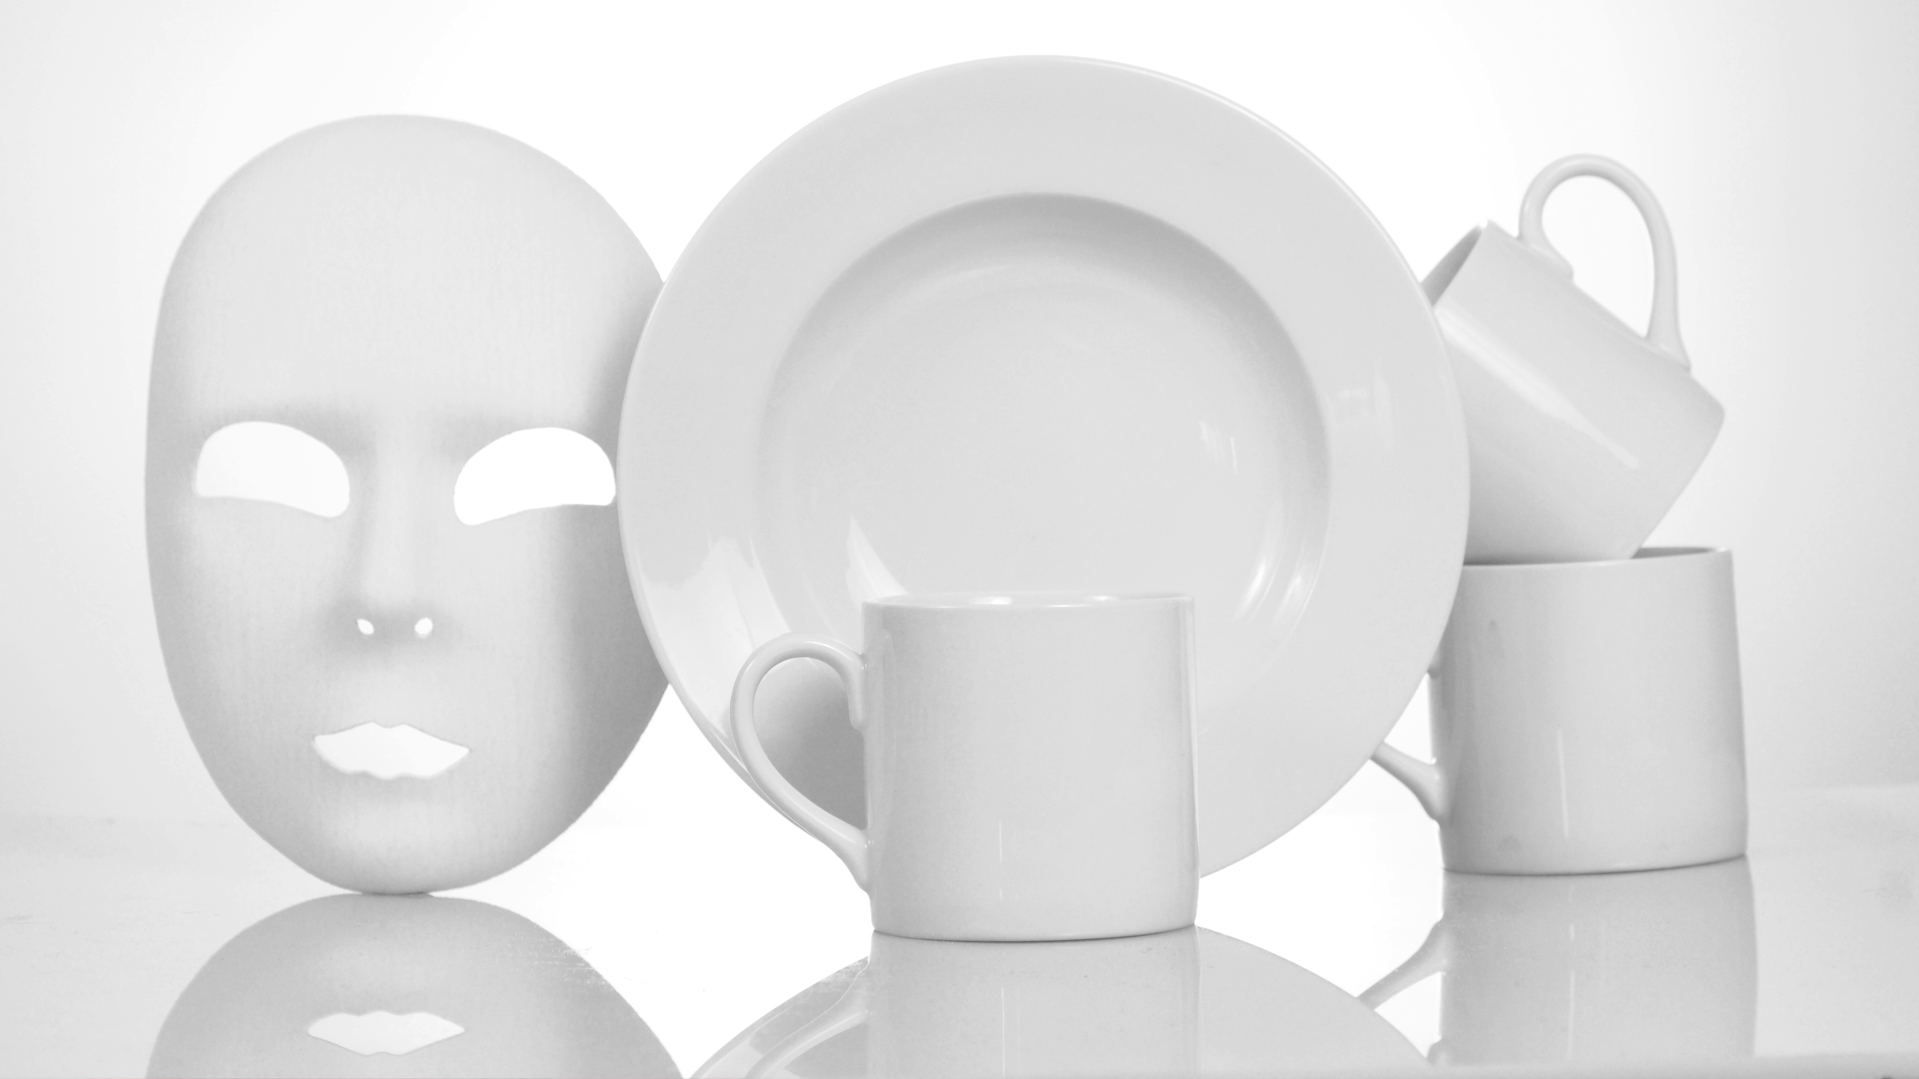
White On White: Terror On the Set
The title of this tutorial is “White On White: Terror On the Set” because shooting a white subject on a white background is often enough to strike terror into the heart of a studio photographer! Because reflected light meter readings can be tricked by white on white subjects this tutorial starts off with an explanation of the differences between reflected light and incident light readings.
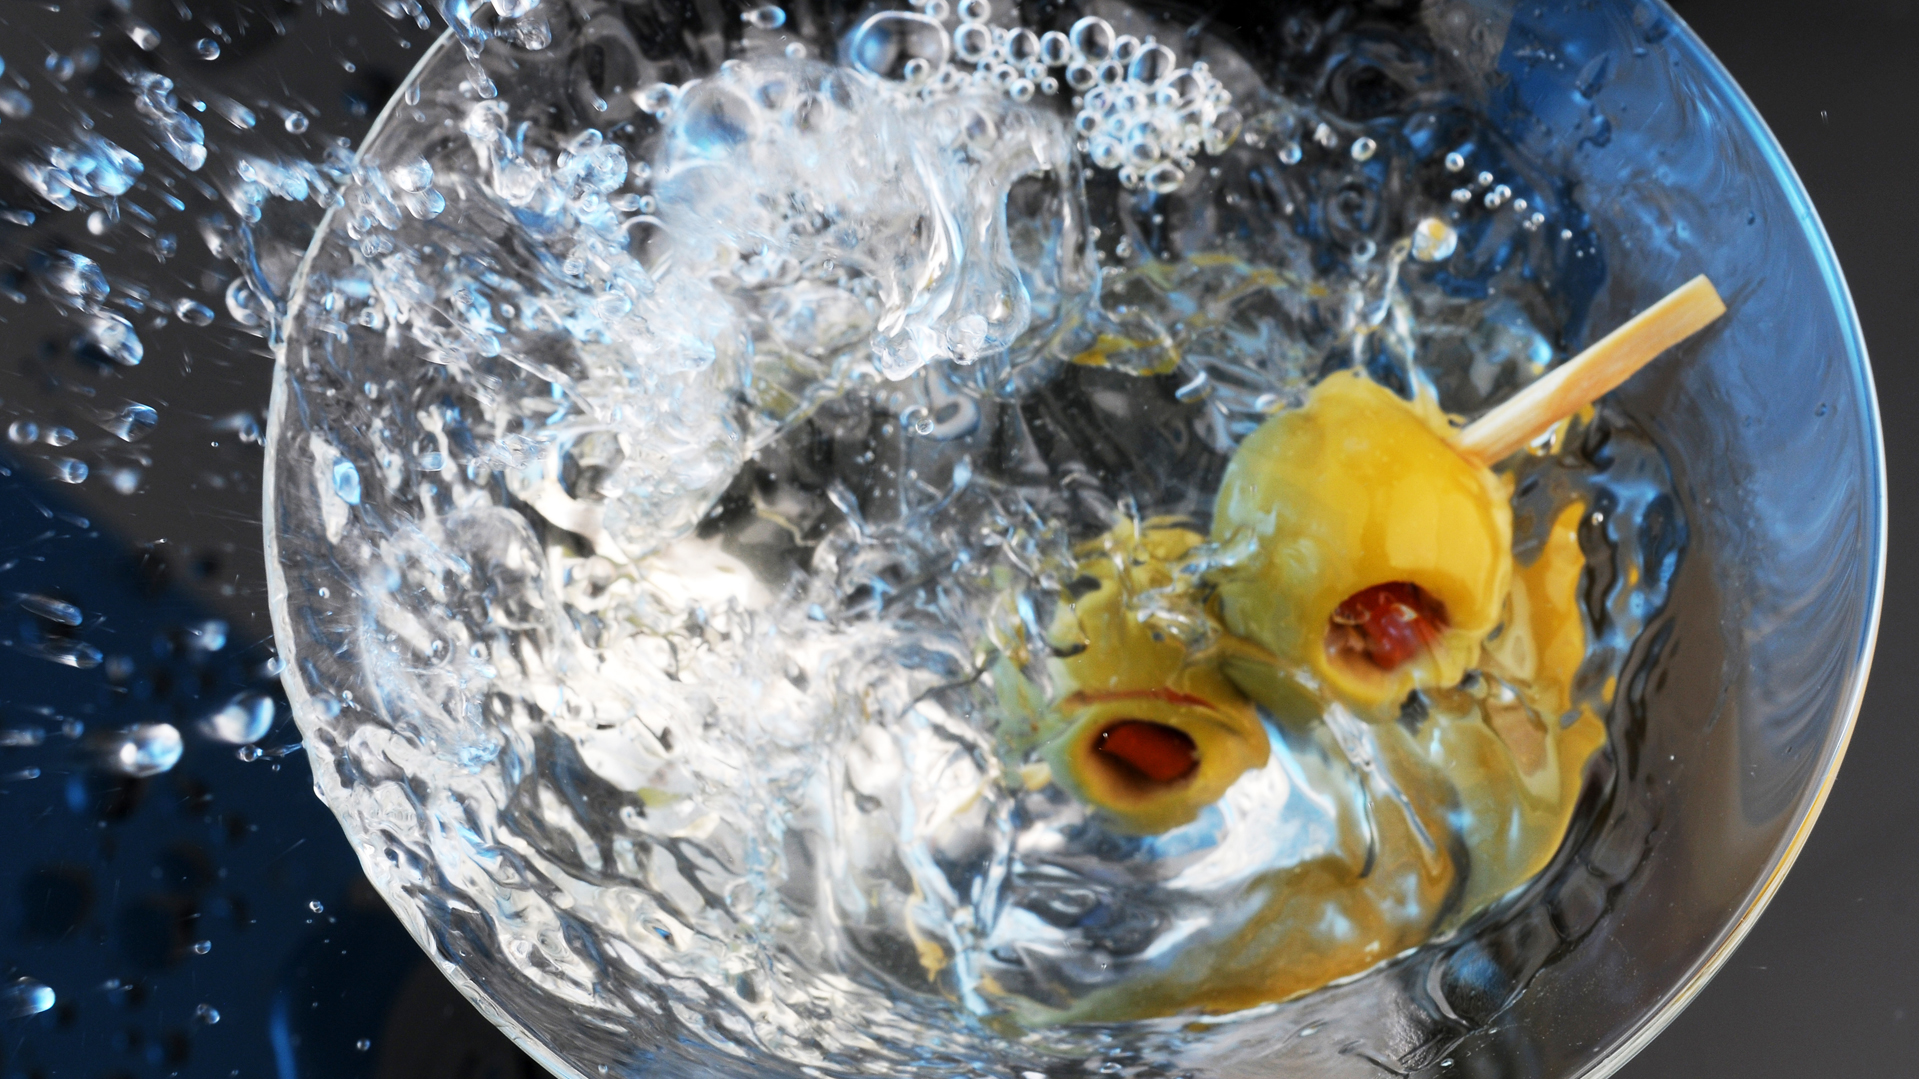
Making a Splash!
This tutorial is about choosing accessories and props to enforce the concept and message a studio photographer is trying to make. Importantly, it does not deal primarily with choices about cameras, lenses, lights, or other photographic equipment, but instead it deals with the choices a photographer must make about choosing and finding the props needed to make a photograph a success.
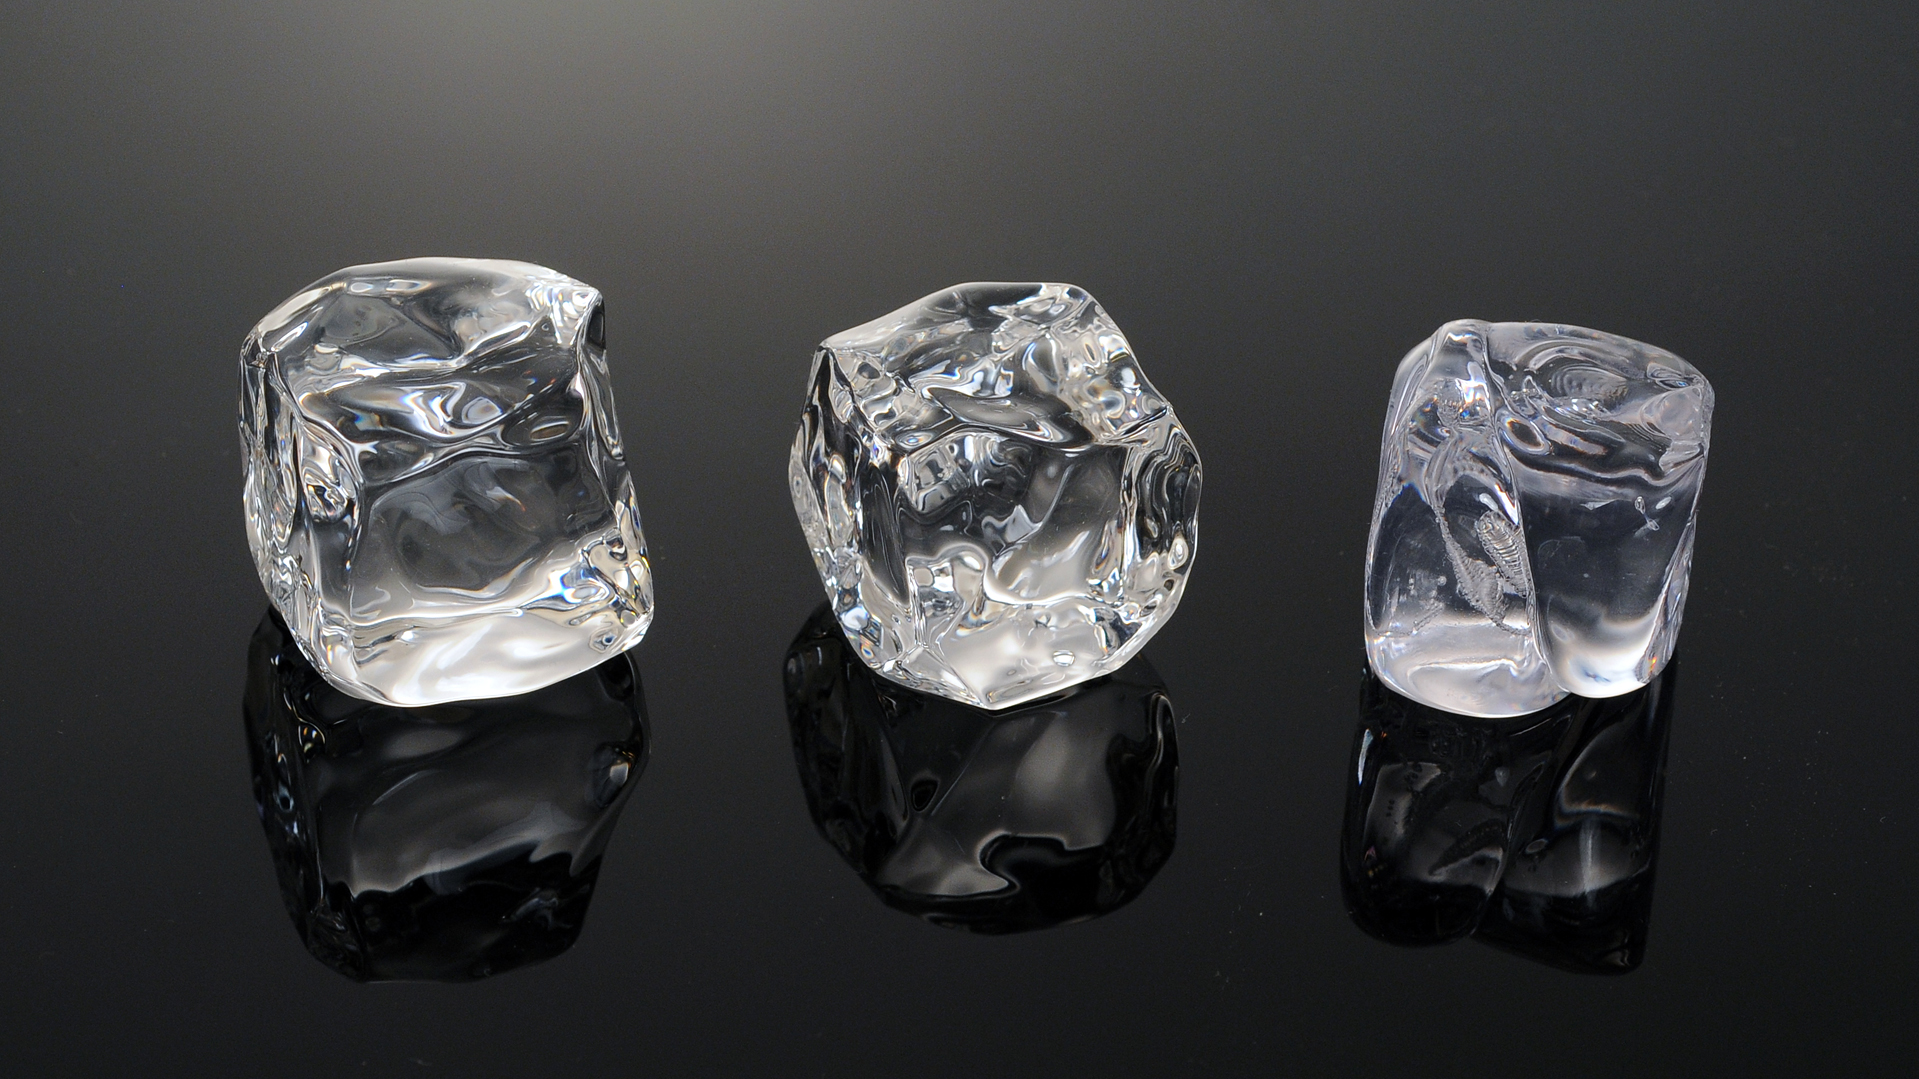
Fabulous Fakes
Many products studio photographers use are positioned outside of a photograph’s borders and never seen. Another group of products, featured in this tutorial, are some Set Shop specialty products meant to be seen within the frame of the photograph. Because these products are seen, and therefore become part of the photograph, they have to be perfect replicas of what they are meant to represent and in this tutorial we call them Fabulous Fakes!

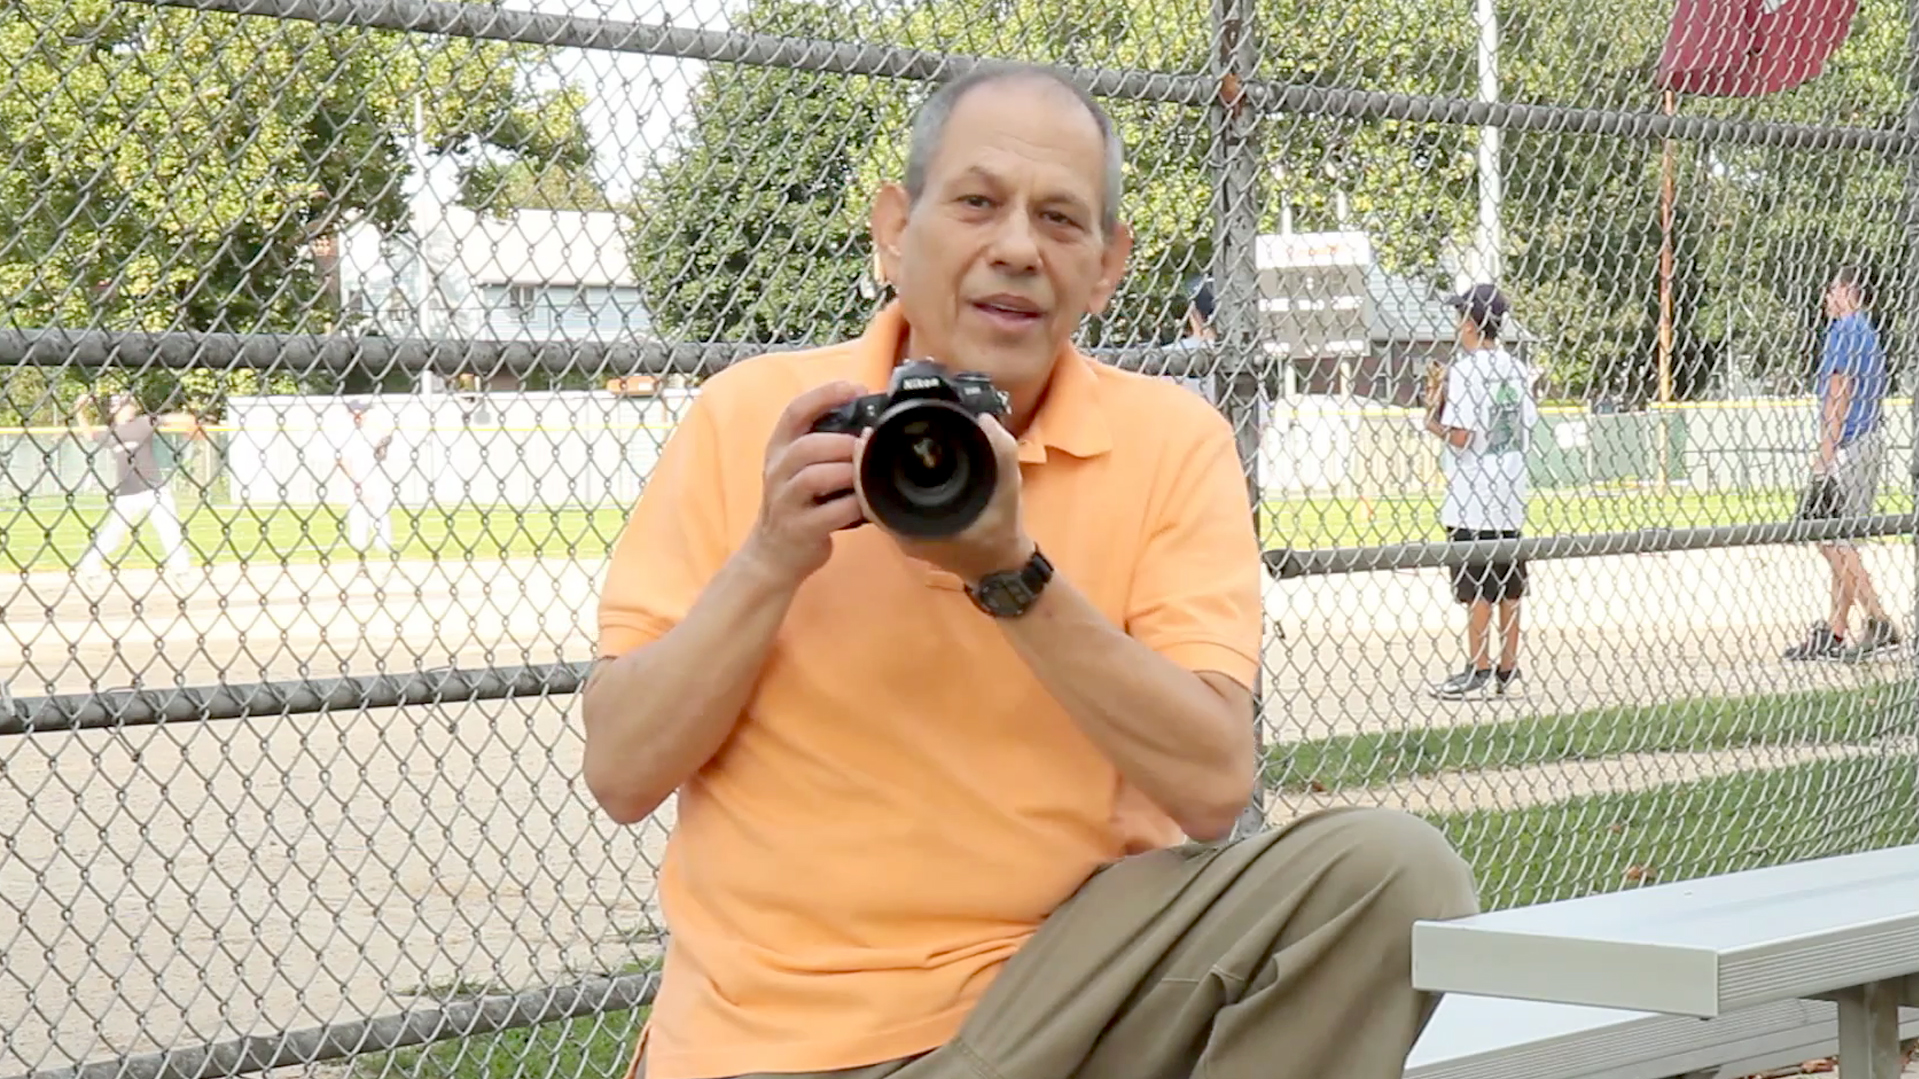
Tripod Tips & Tricks
No matter how free wheeling your shooting style is, no matter how creatively you like to dance around with your camera in your hand as you create your images, the simple fact is this: If you subject does not move then there is good reason that your camera should not have to move either during the image capture part of the process!
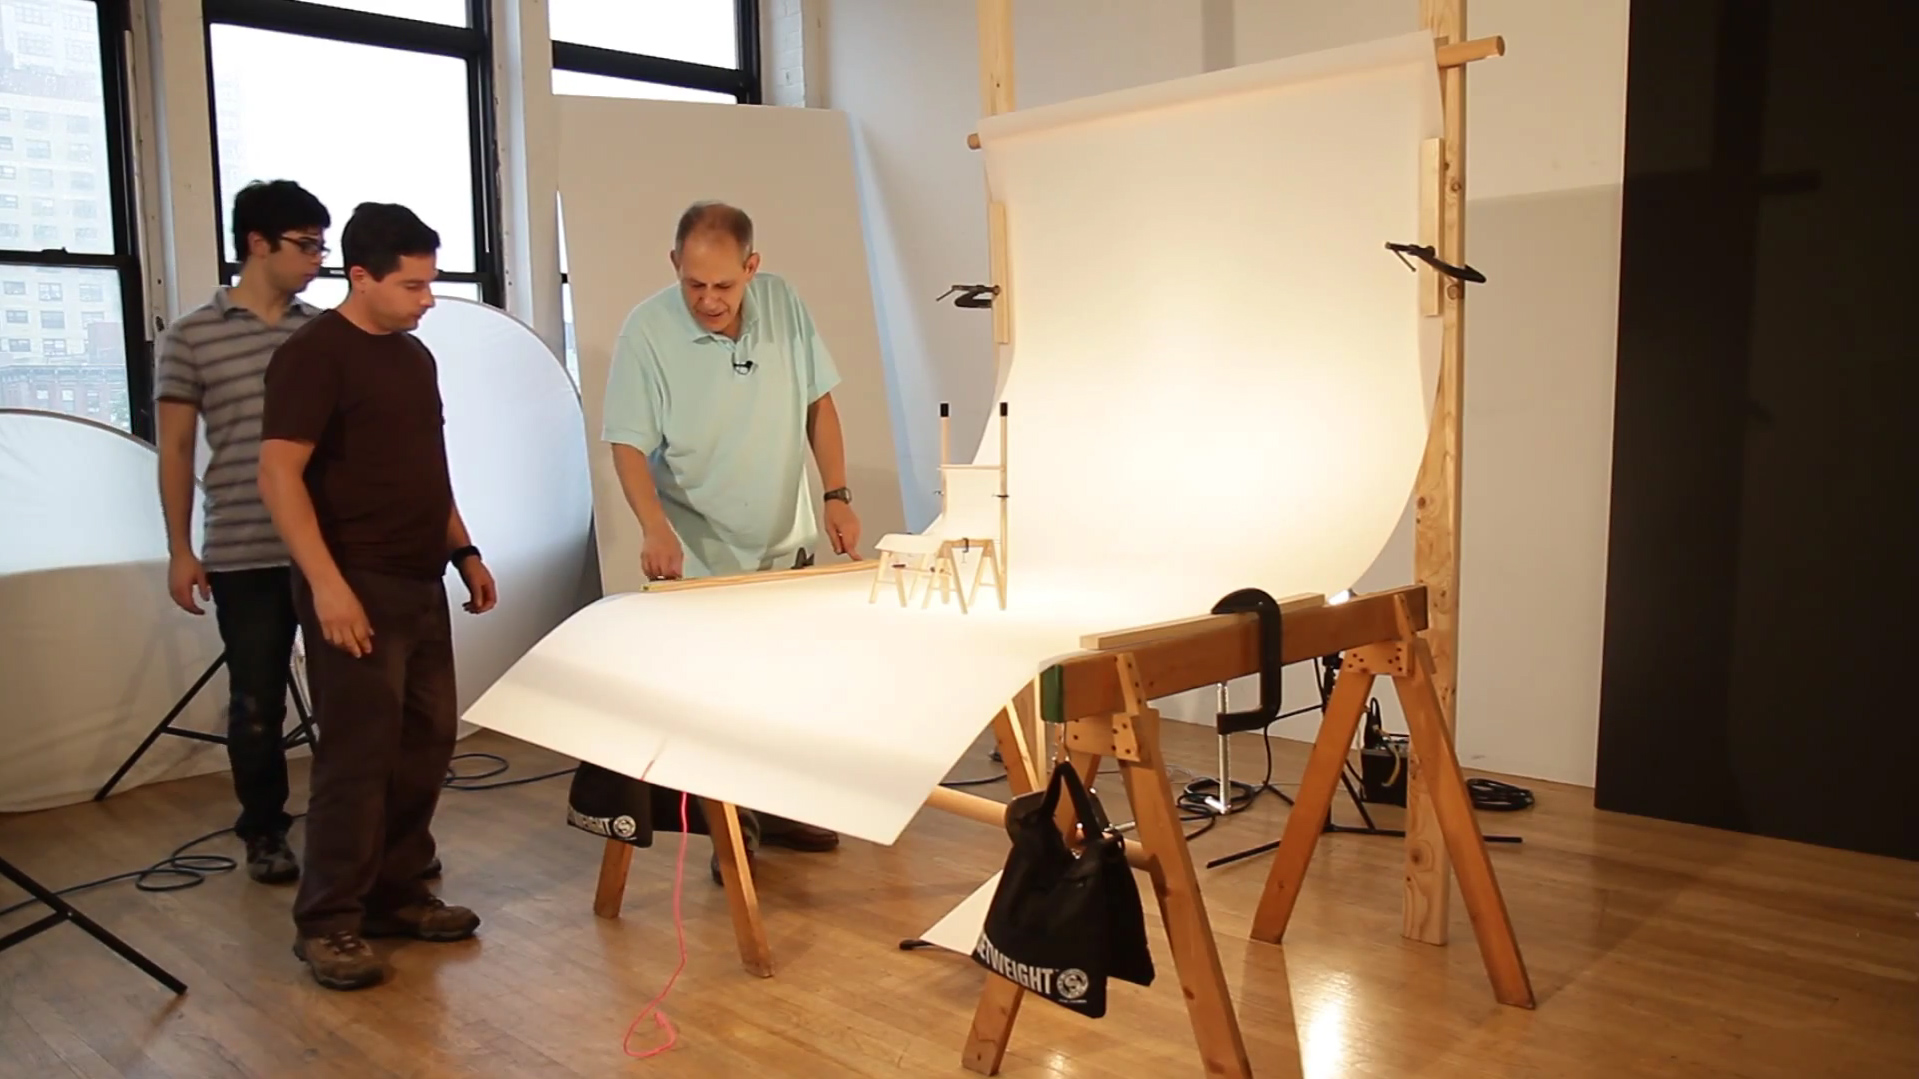
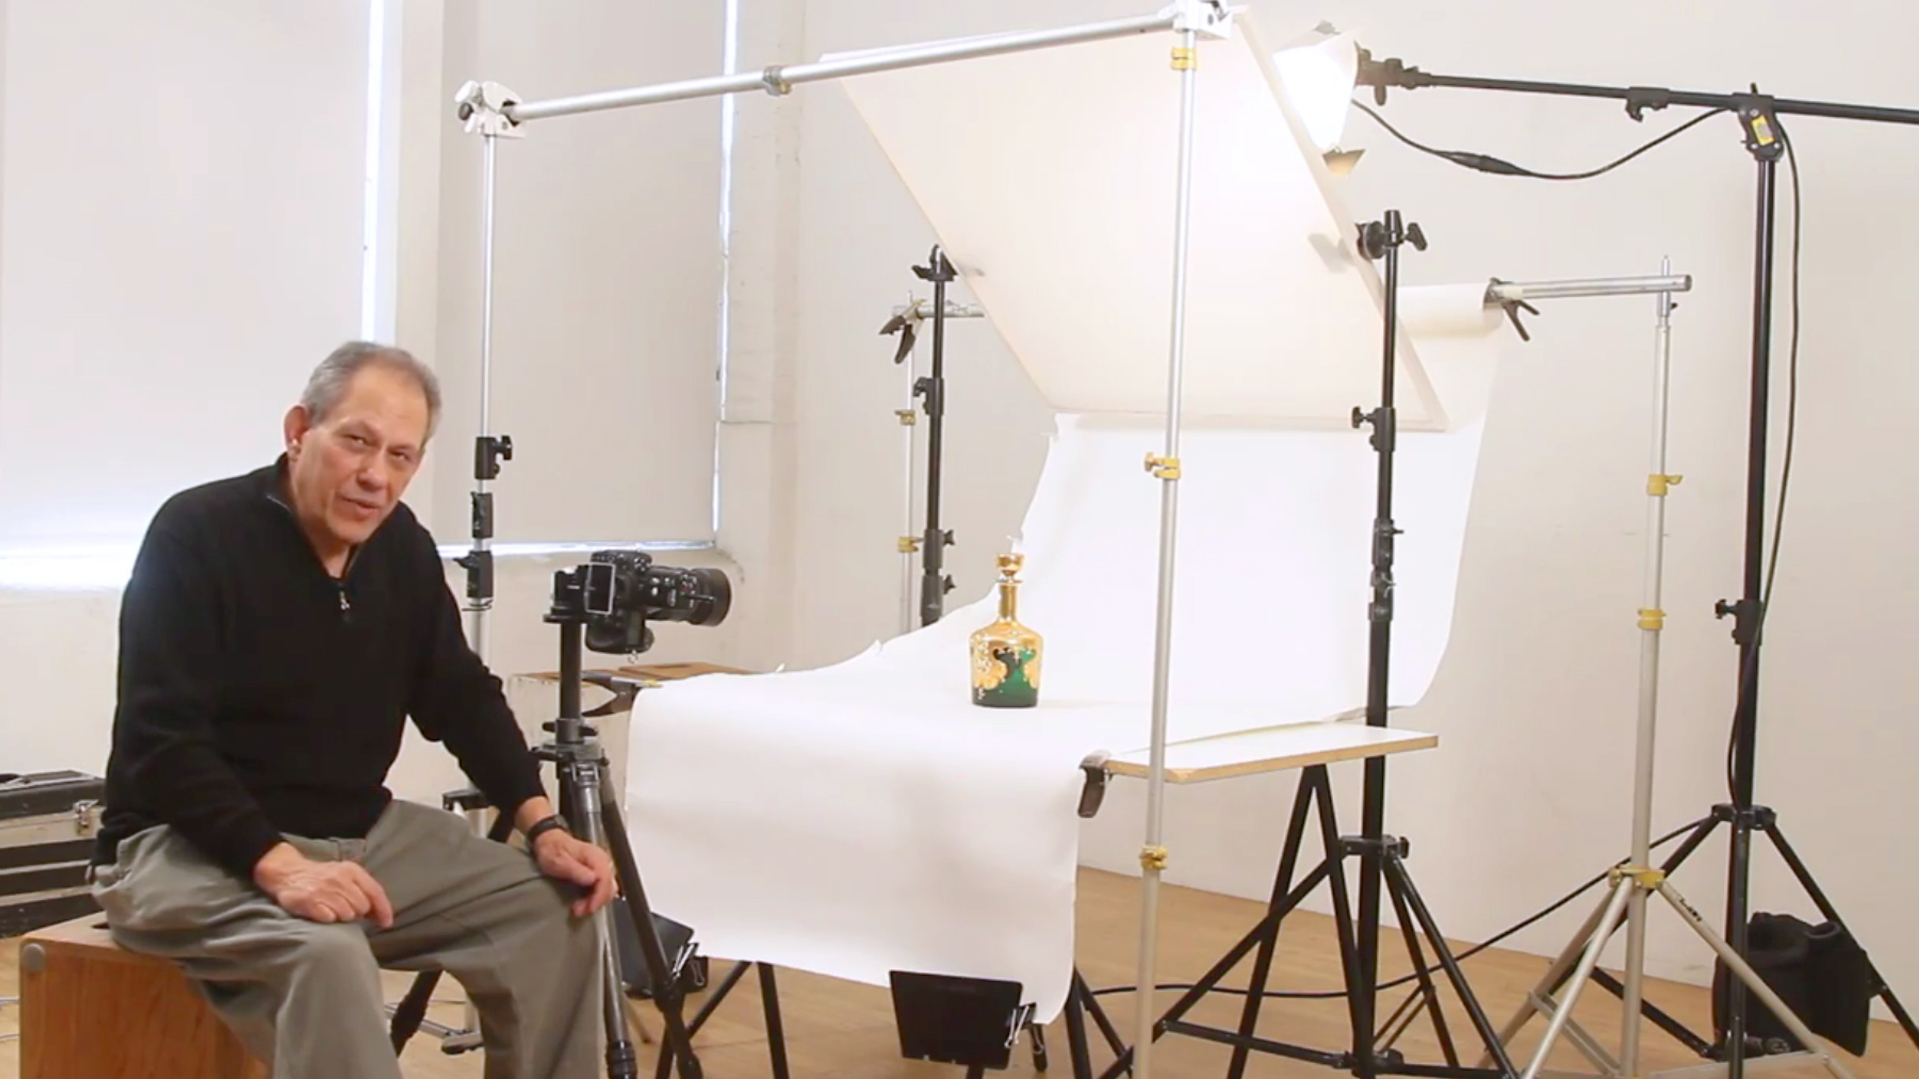
Learn How to Build a Light Table
A light table is a piece of photography studio furniture whose top and rear wall is made from a piece of translucent acrylic plastic (one such brand is called Plexiglas®). Often called “a sweep”, the acrylic tabletop’s rear edge extends past the table’s flattop so it can be flexed upwards to create a background without a horizon line. Additionally, because the table’s top and rear wall is translucent, you can place a light (or lights) under the table or behind it to eliminate shadows altogether.
Lighting Design
Not every product a studio photographer shoots is a bottle of Channel #5, a Louis Vuitton Handbag, or a Rolex watch but that doesn’t mean a more mundane, or less glamorous, product shouldn’t be treated as if it is anything less than a star! Every product a photographer shoots deserves to be displayed, arranged, and lit in a way that is artful, exciting, and creative!
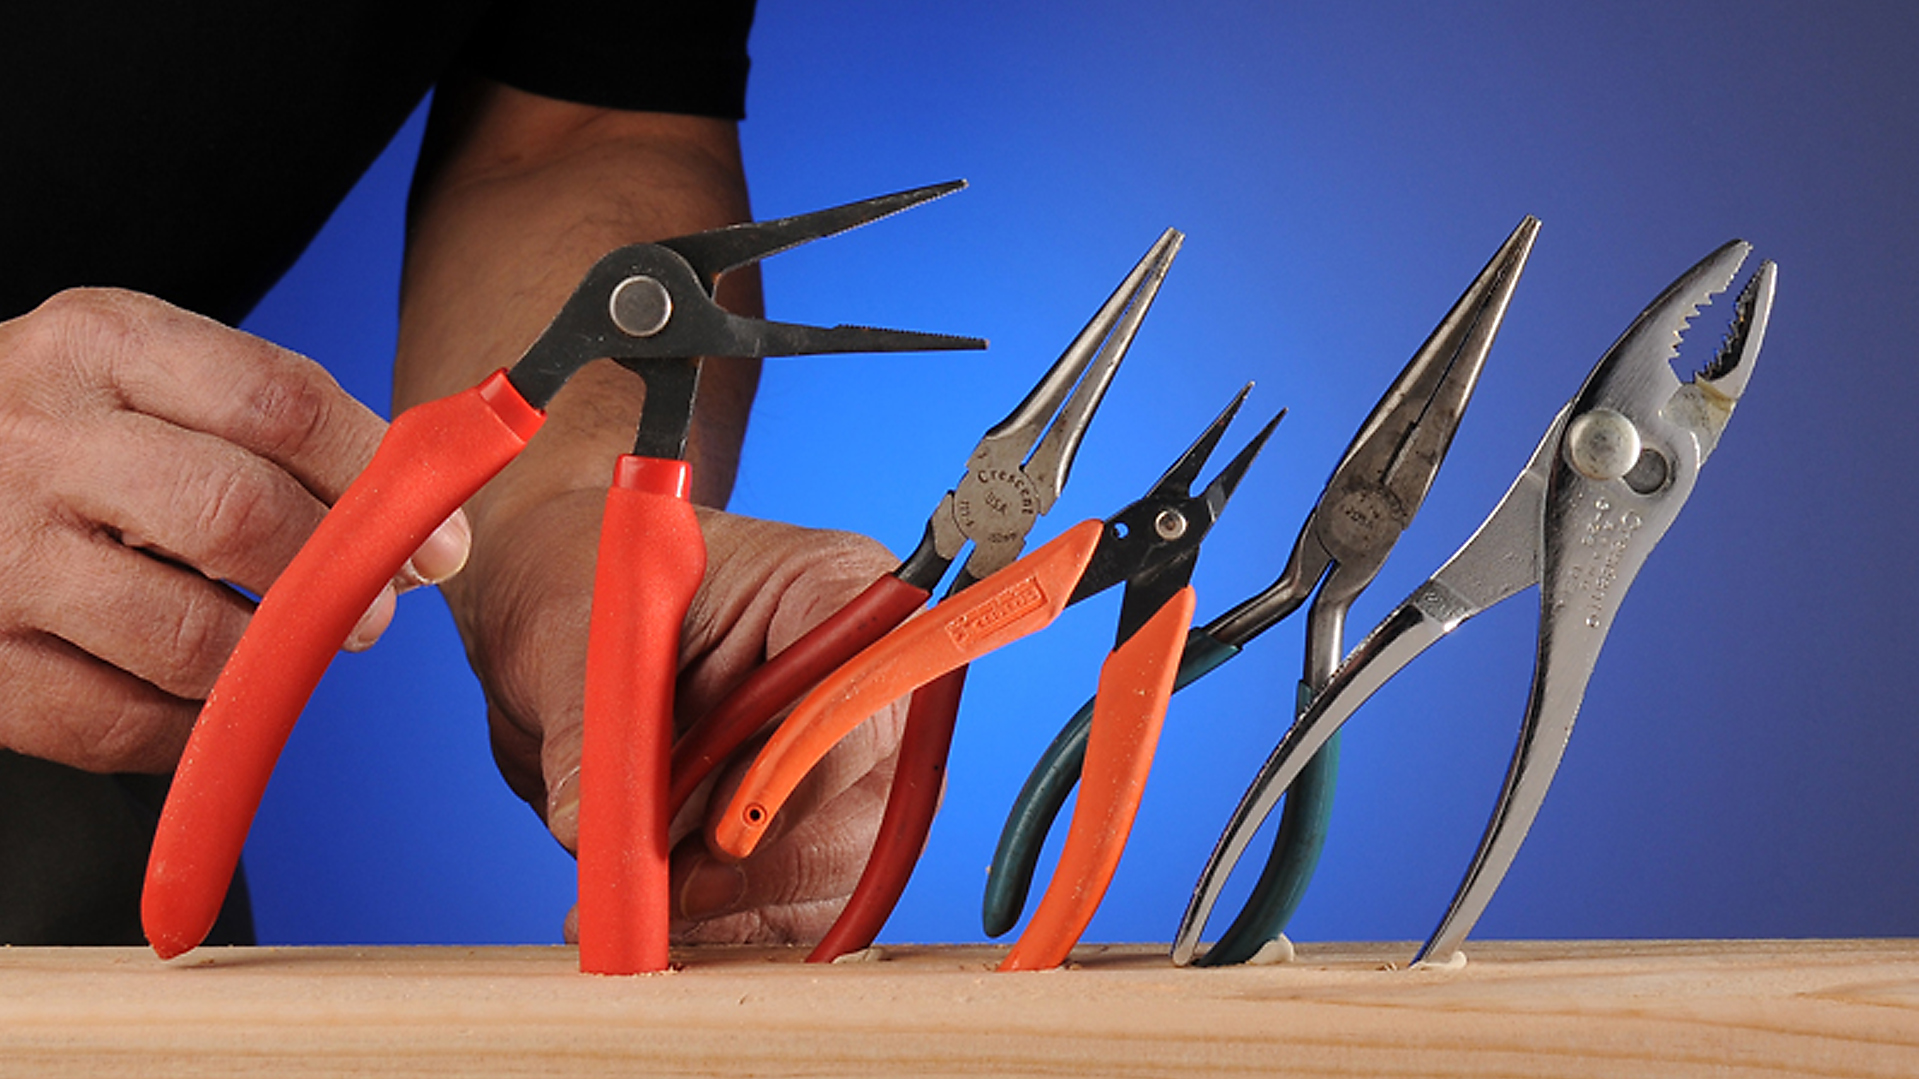
Get a Grip!
Grip equipment is made specifically for professional video, cinema, and photography industries. It is designed to hold a light, a flag, a scrim, a foam-core board a fill card, or even a camera securely in a specific place and at a specific attitude for the duration of the imaging creating process yet still be able to be easily readapted or broken down to be stored or reused at another time, in another way!

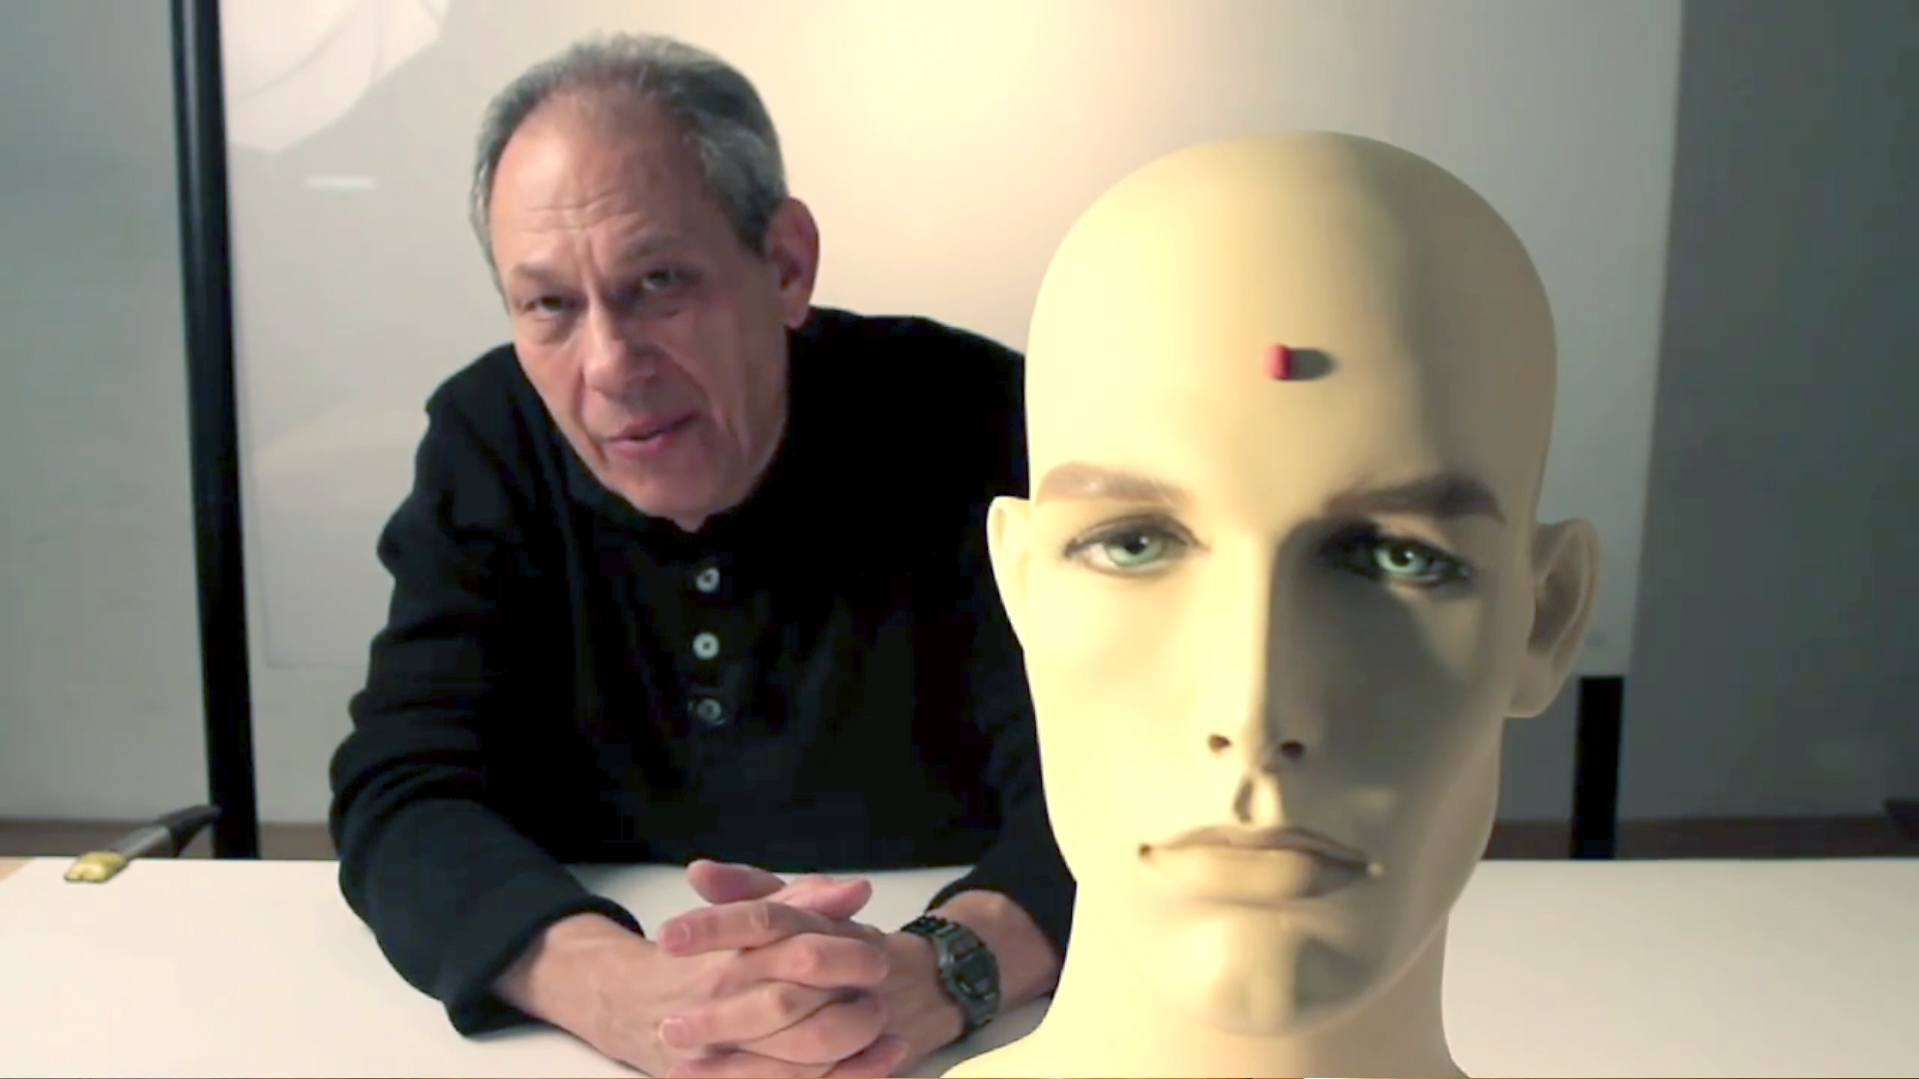
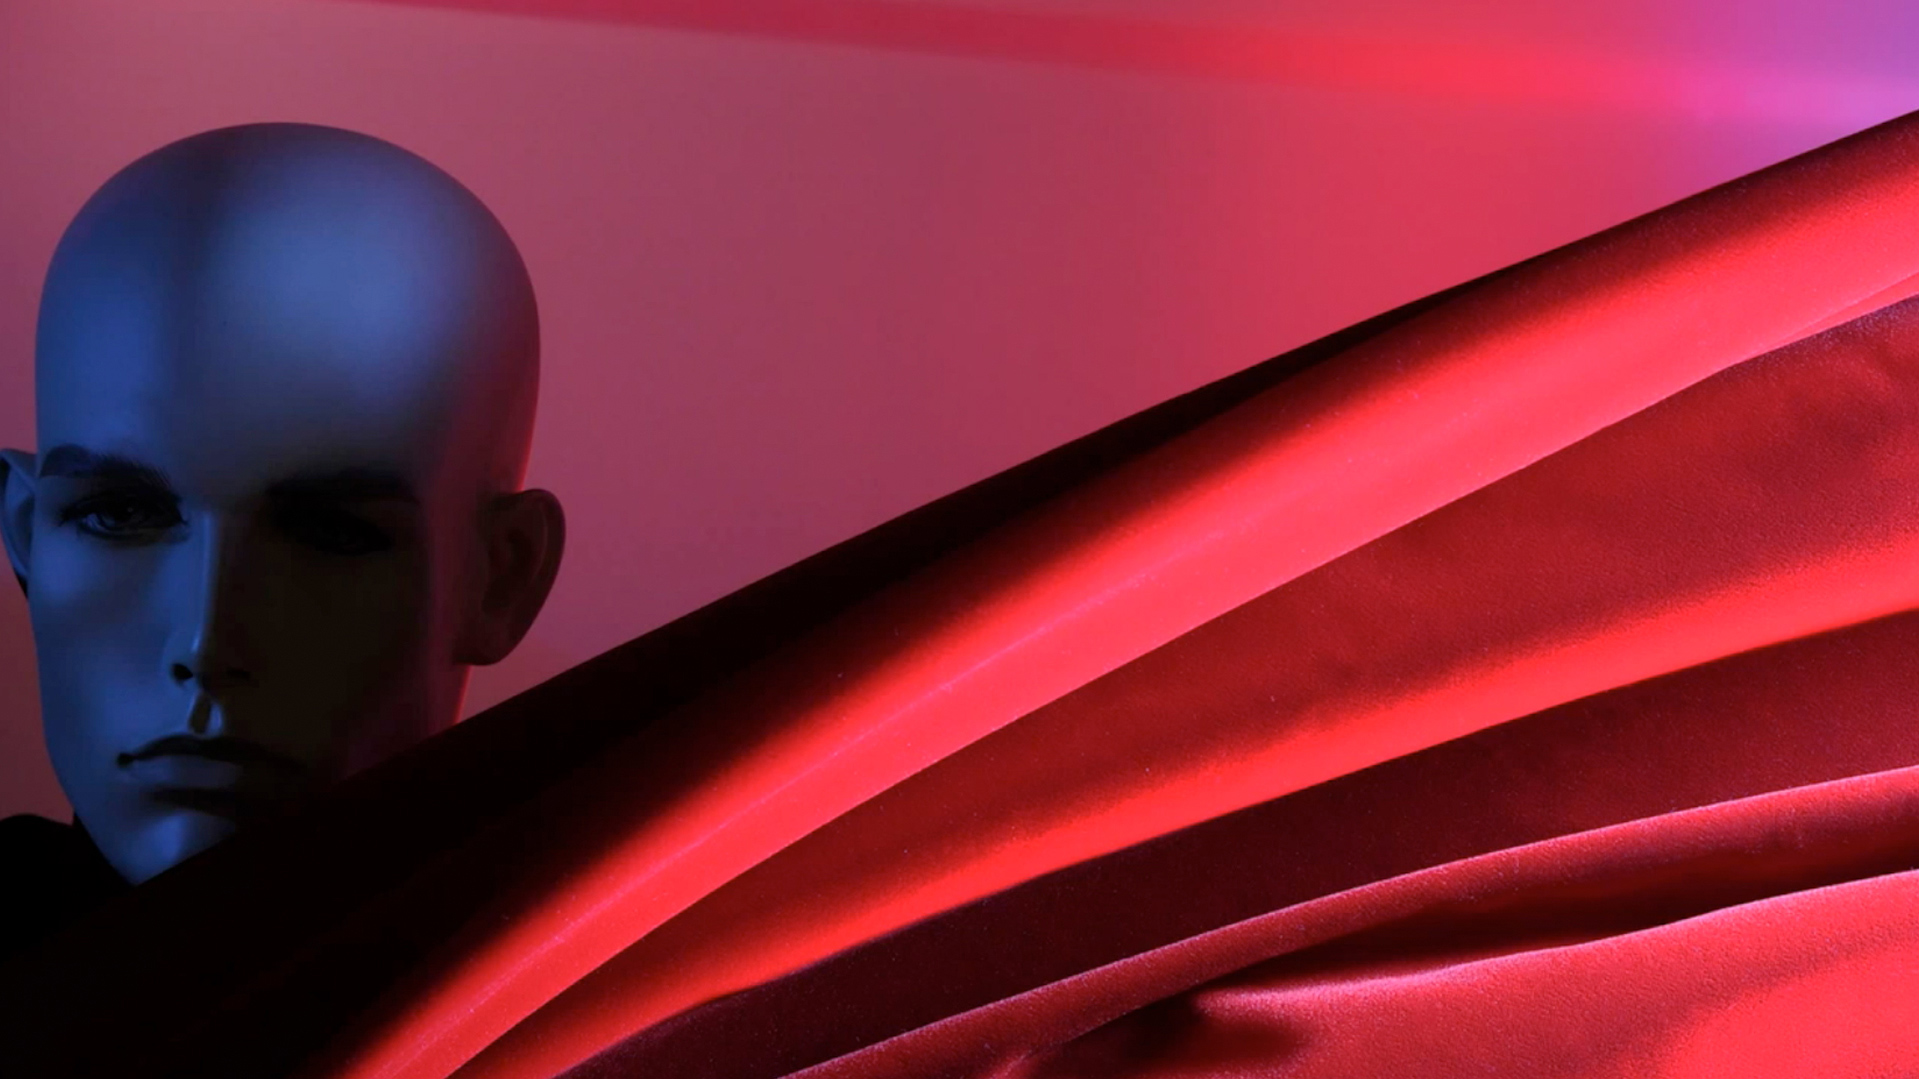
The Beauty Light and More
This is the first tutorial of four that is going to focus on portraiture. We are going to use two fill cards to create a different kind of portrait lighting. The first card will be used to create a light I’ve named a “scoop” because it scoops up the rays of a light from a flash head behind the background and throws it over the top of the background to light our subject’s hair. The second fill card is going to be used to create a type of lighting called a beauty light. It’s called a beauty light because the position of the lights and the fill card we will be using will minimize both vertical and horizontal wrinkles and other imperfections on our subject’s face.
Photography Fixtures
The first topic explains some tips that can help keep you safe when working in a photographic studio. The second is how to use an in-camera masking technique that allows you to merge two images of a still life subject into a single image using Photoshop to get perfect registration of the images.
Ratios and Gels
This tutorial starts off with a demonstration comparing the shadows created when varying the intensity between the main and the fill lights. Using a Sekonic incident light meter with the dome retracted (an L-358), so I could measure two light sources independently of each other, the tutorial illustrates the difference in shadows created by a 5 f-stop range of intensities.
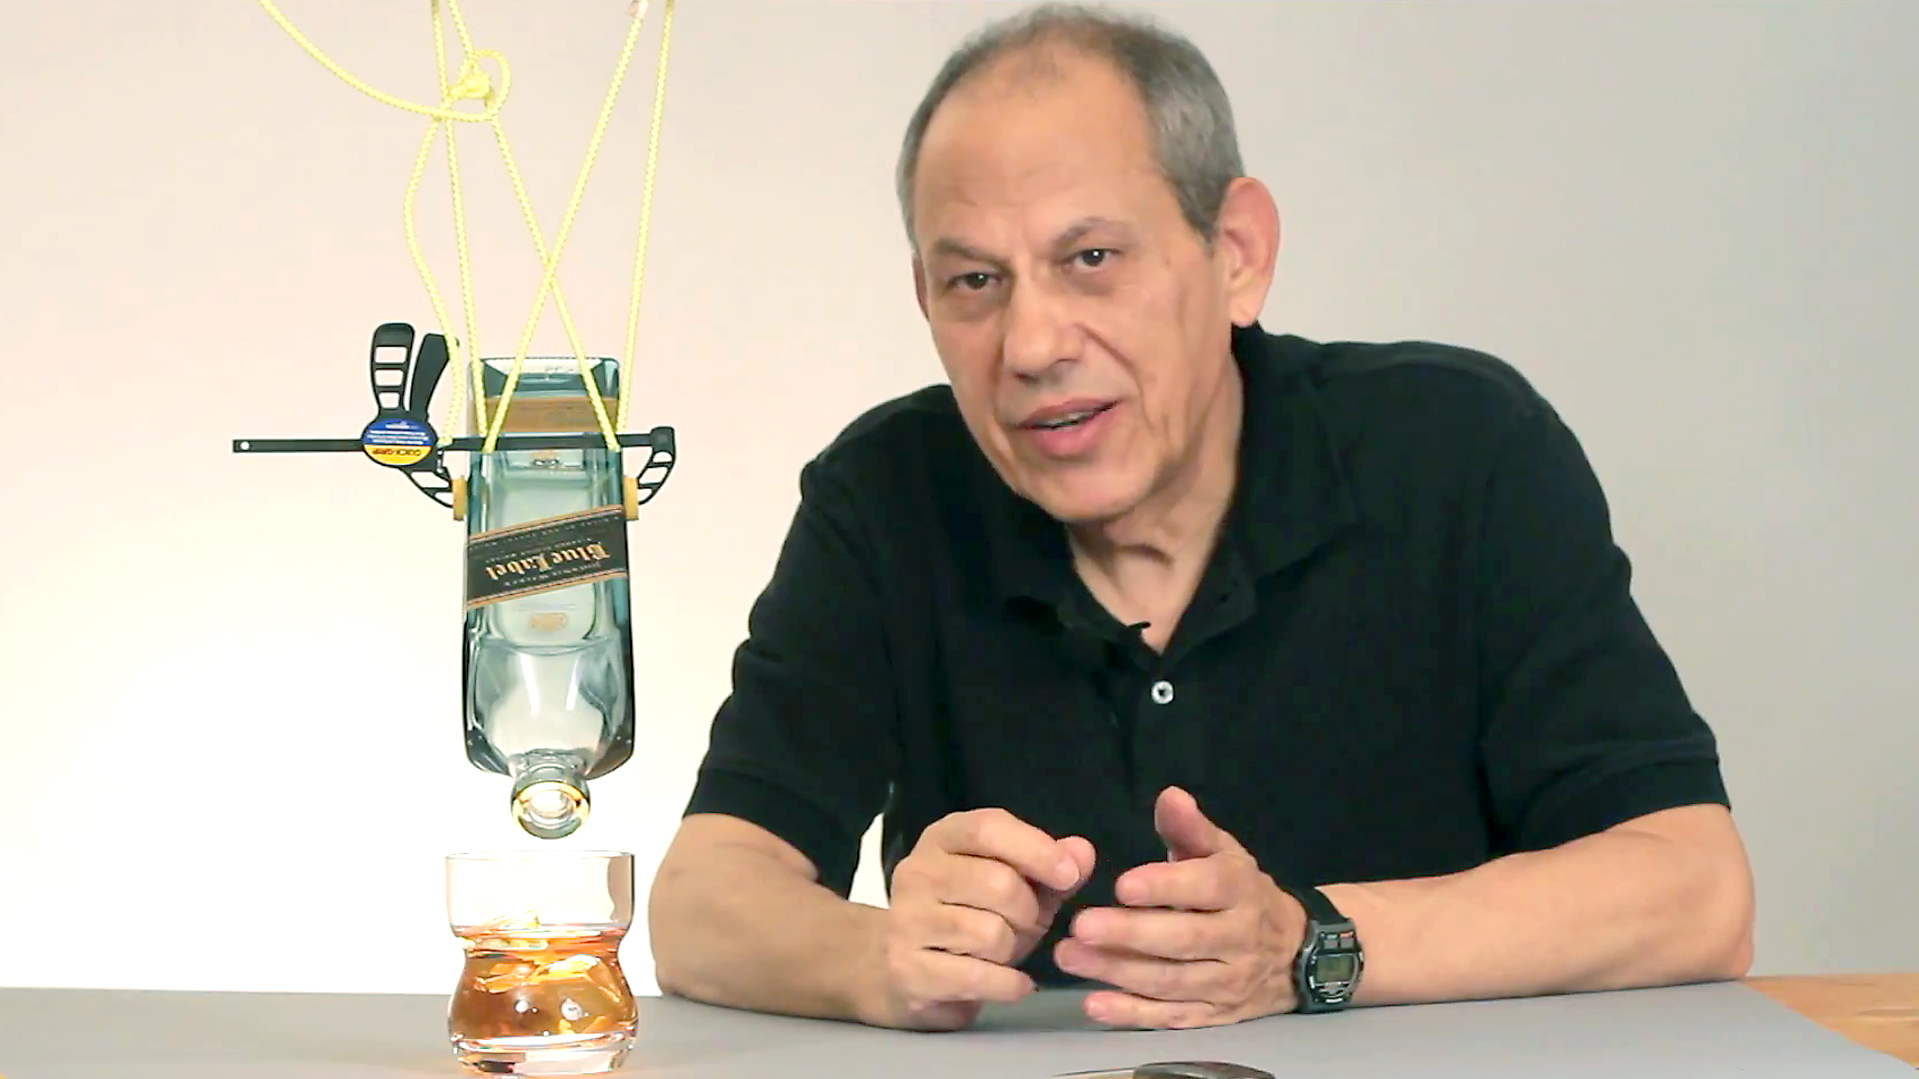
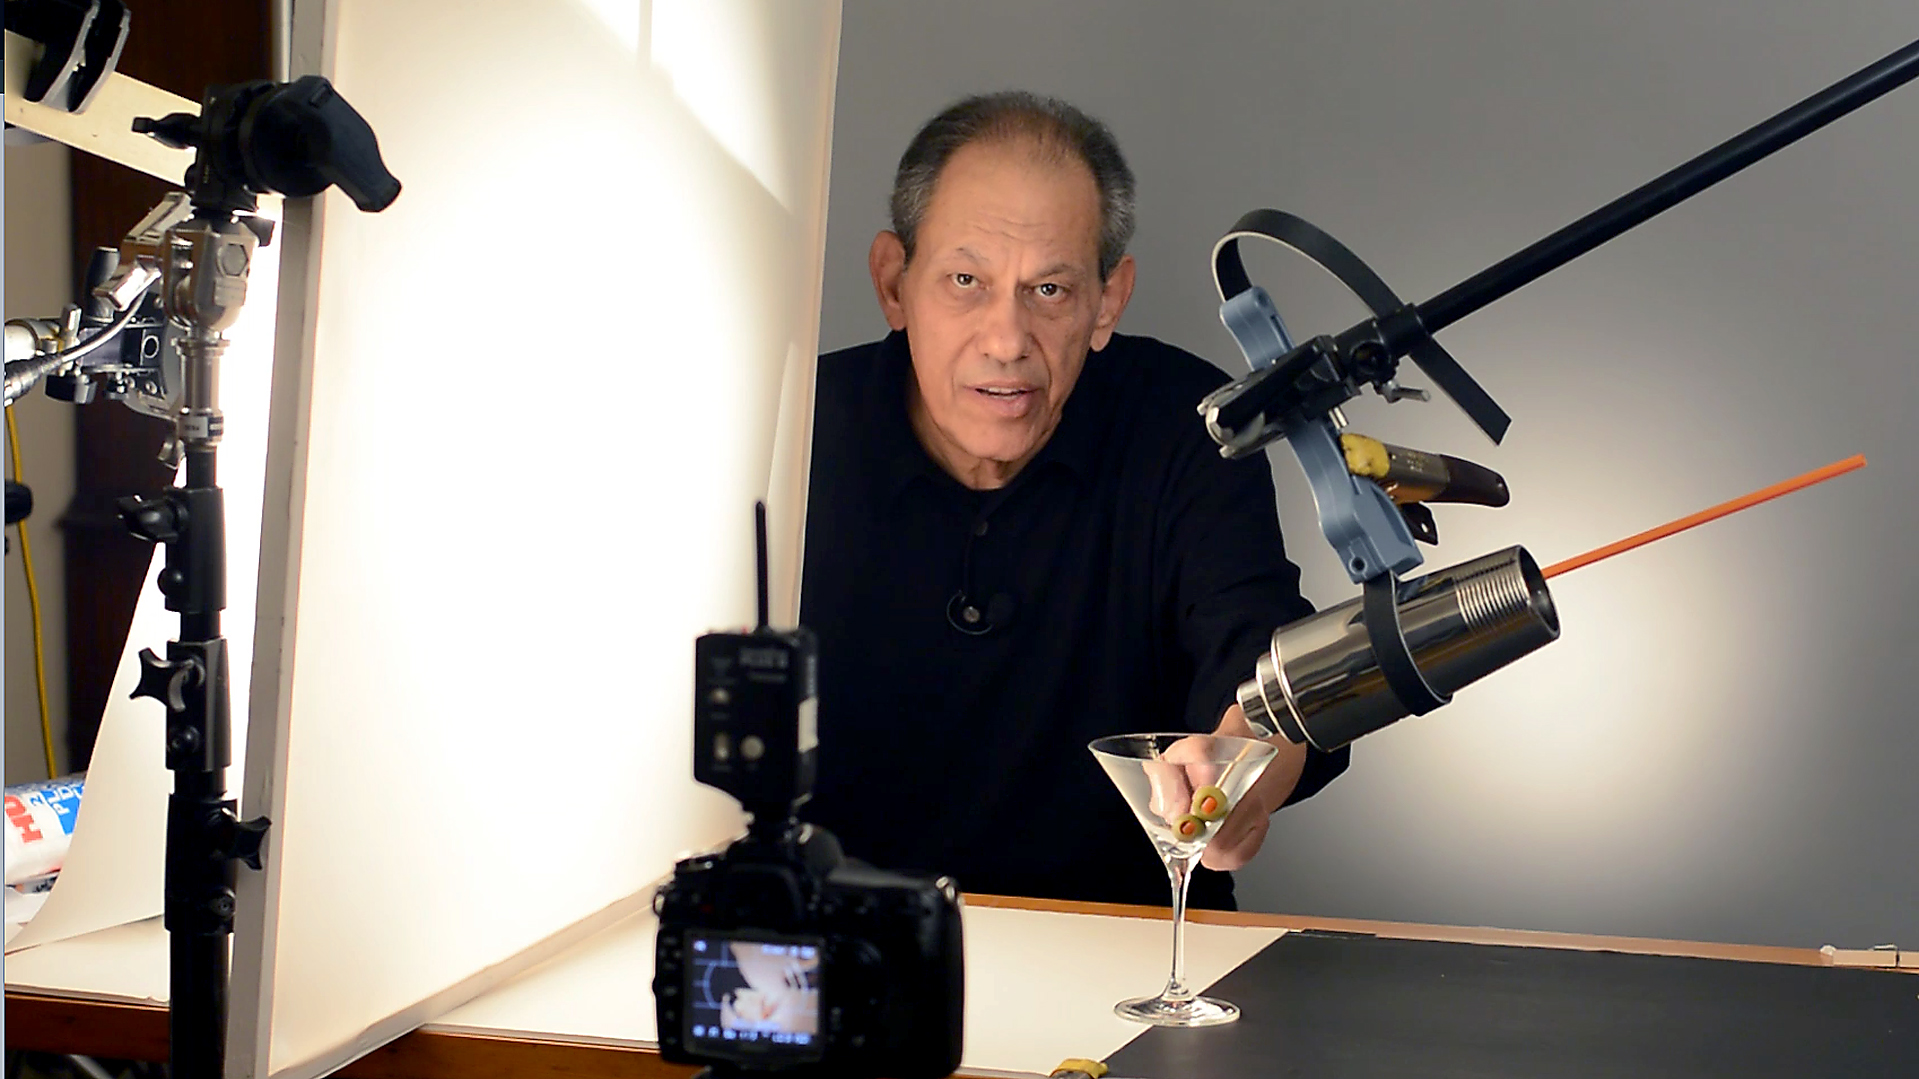
A Shot of Scotch
This tutorial illustrates a technique for creating a way to use lighting transmitted through a glass of scotch liquor (or any other transparent colored liquid). It also deals with overcoming lighting problems that arise during any studio shoot, how to identify what the problem is, and how to correct it. It also shows how to make a fixture to suspend and hold a bottle exactly where the photographer wishes to place it.
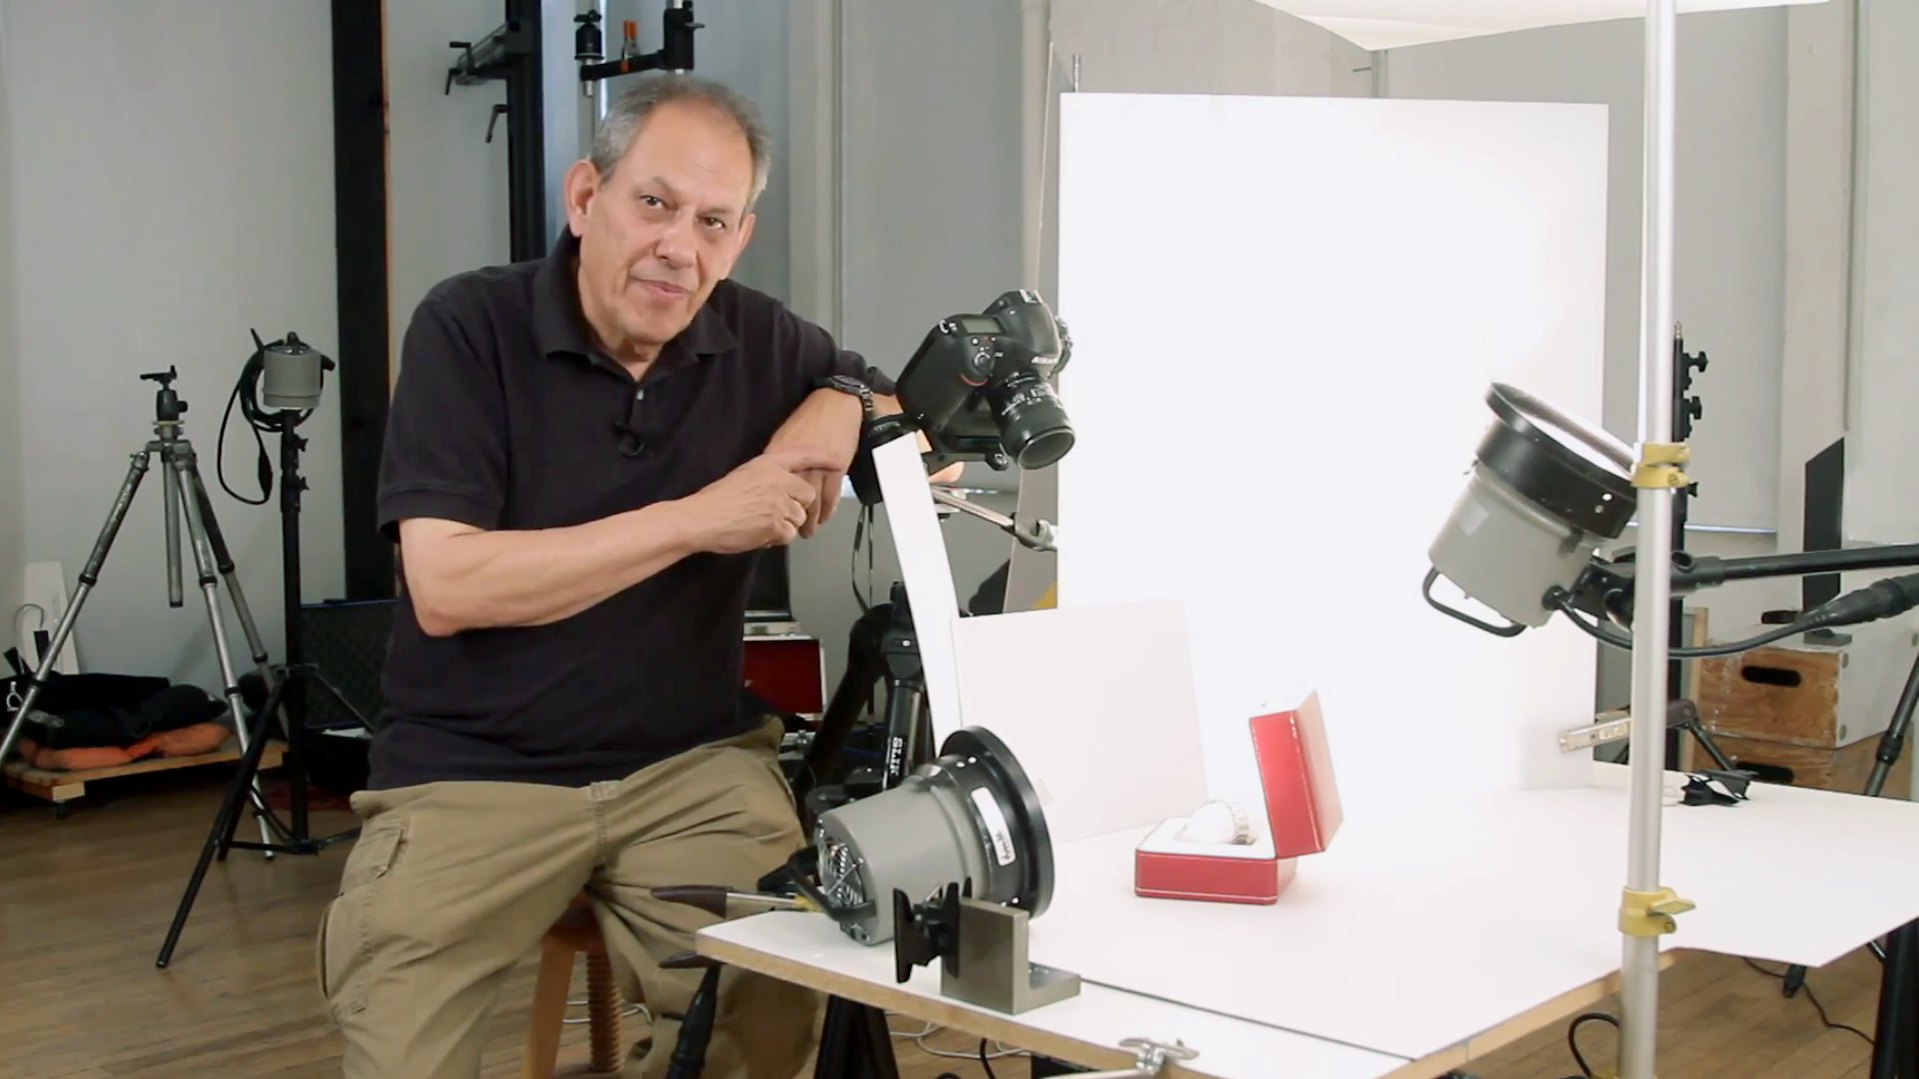
Anatomy of a Still Life
The subject of this tutorial is combining the information featured in those two tutorials to light a complex still life subject; in this case that subject is an antique Cartier watch. This video shows you how to light such a subject in a step-by-step manner. We will be taking you on a journey that explains specifically why each light and fill card is added to the lighting design to get the effect we are looking for.
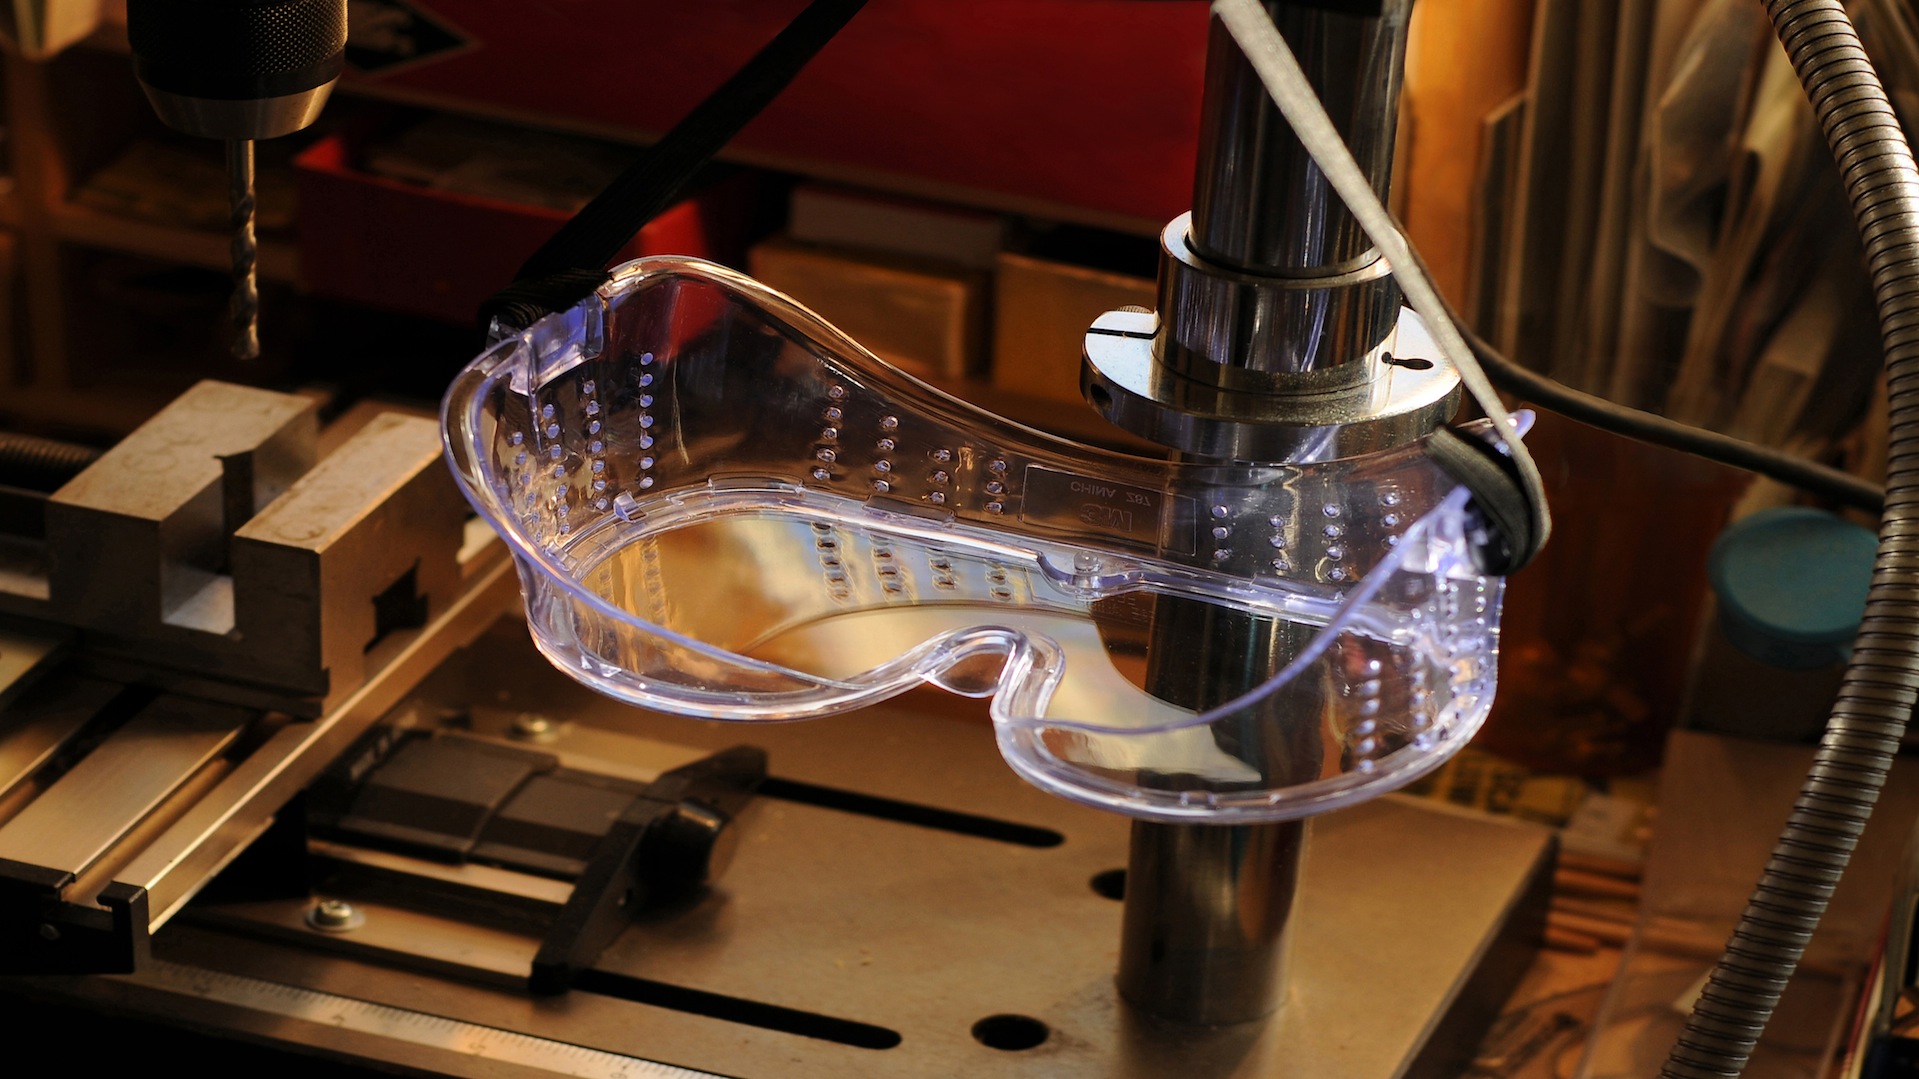
Photography Safety
The first topic explains some tips that can help keep you safe when working in a photographic studio. The second is how to use an in-camera masking technique that allows you to merge two images of a still life subject into a single image using Photoshop to get perfect registration of the images.